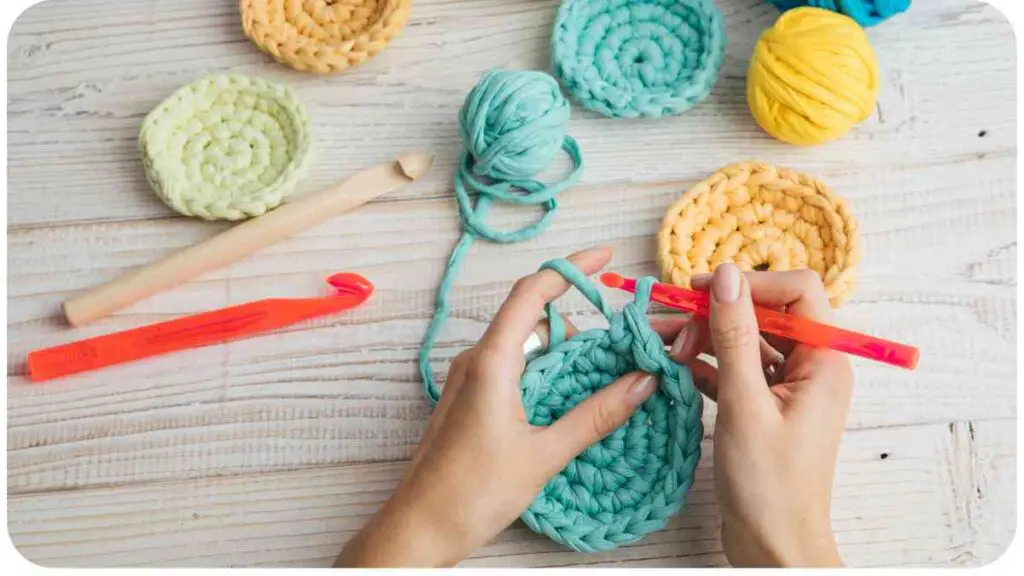
Crochet is a versatile and enjoyable craft that allows you to create beautiful and intricate designs. One technique that every crocheter should master is the magic ring.
Also known as the magic circle or adjustable loop, this technique is used at the start of projects that are worked in the round. In this step-by-step guide, we will walk you through the process of making a magic ring in crochet, providing helpful tips and insights along the way.
What is a Magic Ring in Crochet?
The magic ring is a technique used to create a secure and tight center for projects worked in the round. It provides greater flexibility and adjustability compared to starting with a regular chain. By using a magic ring, you can avoid the unsightly hole that often appears in traditional starting methods.
This technique is particularly useful for amigurumi, hats, coasters, and any other project that begins with a circular shape.
Materials Required
To create a magic ring, you will need the following materials:
- Yarn: Choose a yarn that is appropriate for your specific project. The weight and fiber content should be suitable for the desired outcome.
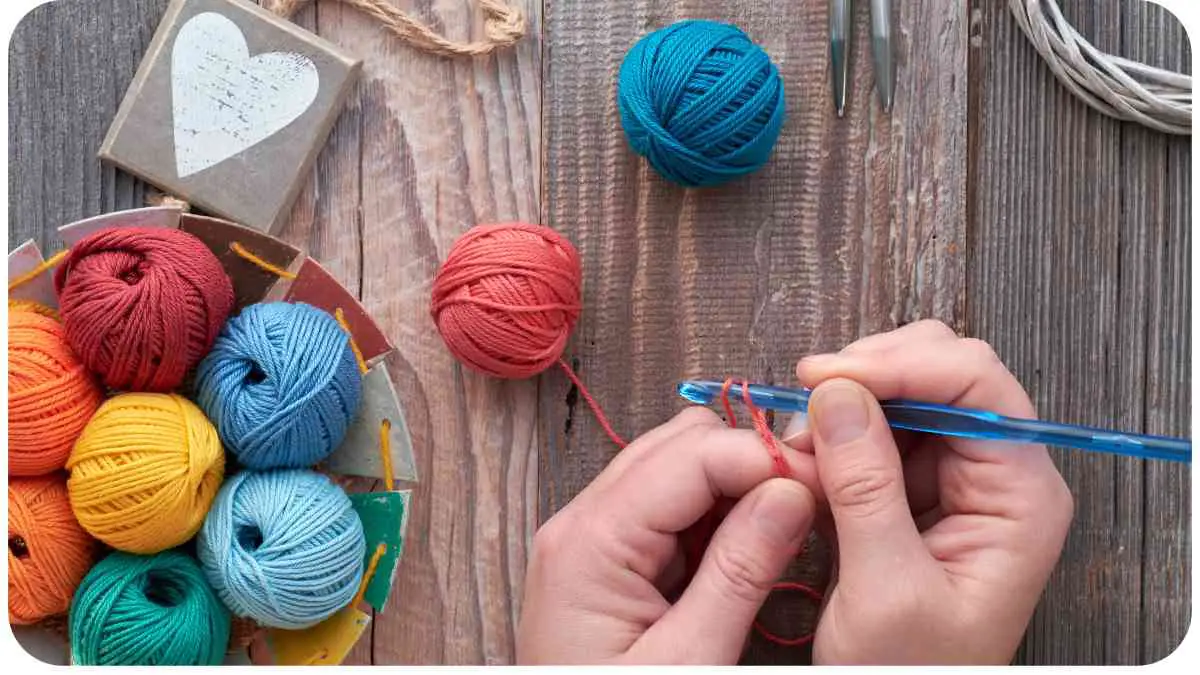
- Crochet hook: Select a crochet hook that complements the chosen yarn. The size of the hook will depend on the recommended size for your project.
- Scissors: A pair of sharp scissors will come in handy for cutting the yarn at the end.
- Tapestry needle: This needle is used for weaving in any loose ends after completing your project.
Now that you have gathered your materials, let’s dive into the step-by-step process of creating a magic ring.
Discover the art of crochet with a comprehensive step-by-step guide. Perfect for beginners or those seeking to refine their crochet skills.
Step 1: Making the Initial Loop
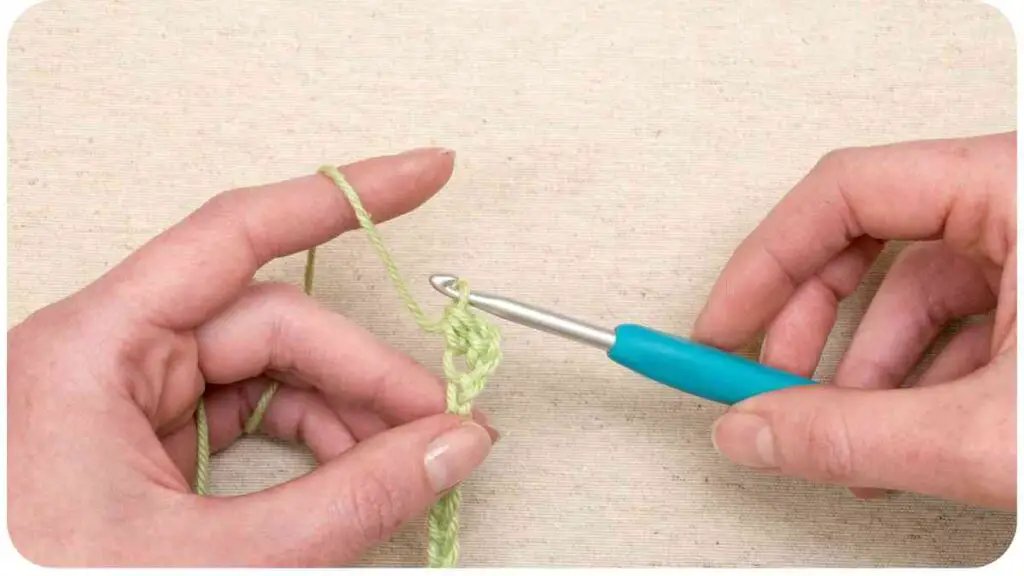
To start, take the loose end of your yarn and create a small loop by crossing it over the working yarn. The working yarn is the part that is attached to the yarn ball or skein. Make sure to leave a tail that is long enough for weaving in later. The size of the loop will determine the diameter of your magic ring.
Step 2: Inserting the Hook
Insert your crochet hook under the loop from front to back. Hold onto the loop with your fingers to keep it secure while you continue to the next step.
Step 3: Creating the First Chain
Using your hook, draw a loop of yarn through the loop you previously formed, effectively creating a chain stitch. This chain stitch will serve as the foundation for your magic ring.
Step 4: Working the Stitches
Now that you have created the first chain stitch, it’s time to work the stitches into the ring. The number of stitches you make will depend on the pattern you are following. Let’s explore some commonly used stitches in the context of a magic ring.
7.1 Single Crochet Stitches

To make a single crochet stitch, insert your hook into the center of the magic ring, yarn over, and draw a loop through the ring. Yarn over again and pull through both loops on the hook. Repeat these steps as instructed by your pattern.
7.2 Half Double Crochet Stitches
For half double crochet stitches, yarn over, then insert your hook into the center of the magic ring. Draw up a loop, yarn over again, and pull through all three loops on the hook. Continue making half double crochet stitches as indicated.
Dive into the world of crochet with this guide on various stitch techniques. Enhance your crochet repertoire and create unique and intricate projects.
7.3 Double Crochet Stitches
To create double crochet stitches in the magic ring, yarn over and insert your hook into the center of the ring. Draw up a loop, yarn over again, and pull through the first two loops on the hook. Yarn over once more and pull through the remaining two loops. Repeat these steps as required by your pattern to create a series of double crochet stitches.
7.4 Triple Crochet Stitches
Triple crochet stitches are taller than the previous stitches mentioned. Yarn over twice, then insert your hook into the center of the magic ring. Draw up a loop, yarn over, and pull through the first two loops on the hook. Yarn over again and pull through the next two loops. Finally, yarn over and pull through the last two loops. Repeat these steps according to your pattern’s instructions.
Step 5: Closing the Magic Ring
Once you’ve completed the desired number of stitches, gently pull on the loose end of the yarn to tighten the ring. This will close the loop, securing your stitches in place. Make sure the ring is tightened enough, but not so tight that the stitches become distorted or difficult to work with.
Congratulations! You have successfully made a magic ring in crochet. Now, let’s explore some applications and variations of this technique.
Master the fundamental slip knot technique in crochet with this quick guide. A crucial skill for initiating various crochet projects.
Applications and Variations
9.1 Starting Rounds in Amigurumi
Amigurumi, the art of crocheting small stuffed animals or creatures, often requires the use of a magic ring. By starting your amigurumi projects with a magic ring, you can achieve a seamless and tightly closed center, which is essential for creating a professional-looking finished product.
Table: Popular Amigurumi Patterns Using Magic Rings
| Name of Amigurumi | Brand/Designer |
| Cute Bunny | Crochet By Alix |
| Friendly Octopus | The Amigurumi Studio |
| Cozy Teddy Bear | Happy Hooker’s Corner |
9.2 Beginning Circular Projects
Not limited to amigurumi, the magic ring is also beneficial when starting circular projects such as hats, coasters, mandalas, and granny squares. Utilizing a magic ring provides a seamless starting point, ensuring your project has a neat and professional appearance.
Table: Common Circular Projects Using Magic Rings
| Project Name | Brand/Designer |
| Cozy Beanie Hat | Woolly Warmers |
| Floral Coaster Set | Crafty Creations |
| Vibrant Mandala Blanket | Hooked on Yarn |
By incorporating a magic ring into your crochet repertoire, you can open up a world of possibilities and enhance your crafting skills.
Troubleshooting and Tips
While creating a magic ring is generally straightforward, beginners may encounter a few challenges along the way. Here are some troubleshooting tips to help you overcome common issues:
Begin your crochet journey and teach yourself the basics. Unlock the creativity to craft beautiful and intricate crochet artworks.
10.1 Too Tight or Too Loose Ring
Achieving the correct tension in your magic ring is crucial. If your ring is too tight, it may be challenging to work your stitches into the ring. Conversely, if your ring is too loose, your stitches may appear loose and uneven. Experiment with different tension levels until you find what works best for you and your project.
10.2 Hiding the Tail
After tightening your magic ring, you will be left with a tail of yarn. To ensure a polished finish, thread the tail onto a tapestry needle and weave it through the stitches on the wrong side of your work. This will hide the tail and prevent it from unraveling.
10.3 Using a Stitch Marker

When working on projects with multiple rounds or rows, it can be helpful to use a stitch marker to keep track of your progress. Simply insert the marker into the last stitch of the previous round, making it easier to identify the start of each new round.
Explore the transition from granny squares to gorgeous home decor. Elevate your crochet skills to adorn your living space with handmade elegance.
10.4 Joining New Colors
If your pattern requires changing or joining colors, make sure to do so at the appropriate stage in your magic ring. Insert the hook, yarn over with the new color, and complete the first stitch as directed. This will ensure a clean color transition without disrupting the integrity of the magic ring.
Frequently Asked Questions
11.1 Can I use a regular chain instead of a magic ring?
While it is possible to start crochet projects with a regular chain, using a magic ring offers more flexibility and a neater appearance. The magic ring eliminates the hole in the center of the work, providing a seamless starting point.
11.2 How do I make the magic ring bigger?
To create a larger magic ring, simply adjust the size of your initial loop. A larger loop will result in a larger ring, allowing you to crochet more stitches into it. Remember to maintain consistent tension throughout your work.
11.3 Can I use the magic ring for other crafts?
Yes, the magic ring technique can be used in various crafts beyond crochet. It is particularly effective in crafts that involve working in the round, such as knitting, embroidery, or even macramé. By adapting the method to suit the specific craft, you can create secure and tightly closed centers for your projects, enhancing their overall appearance.
Conclusion
Mastering the art of creating a magic ring in crochet opens up a world of possibilities for your crafting endeavors. By using this technique, you can achieve seamless and professional-looking projects, whether you’re making amigurumi creatures, hats, coasters, or other circular designs.
Throughout this step-by-step guide, we have explored the process of making a magic ring in crochet, provided helpful tips and insights, and shared personal experiences as professionals in the field. By incorporating our expertise and knowledge, we aimed to create an engaging and relatable article that equips you with actionable advice and valuable takeaways.
Remember, practice makes perfect, and as you gain more experience, you will become more comfortable and proficient in creating magic rings. So grab your yarn, crochet hook, and start experimenting with this versatile technique. With each successful magic ring, you’ll be one step closer to becoming a master crocheter.
Further Reading
To continue your crochet journey and deepen your understanding of creating magic rings, check out the following resources:
- KnitPro: How to Crochet a Magic Ring: This blog post walks you through the steps of creating a magic ring in crochet. It provides detailed instructions and helpful visuals to guide you in mastering this technique.
- Sarah Maker: Crochet Magic Ring: Sarah Maker’s website offers a comprehensive guide to crocheting a magic ring. Her tutorial includes step-by-step instructions, tips, and troubleshooting advice to ensure your success in incorporating this technique into your crochet projects.
- Easy Crochet: The Absolute Beginner’s Guide to Crocheting a Magic Circle: This beginner-friendly guide with accompanying photos breaks down the process of crocheting a magic circle. It provides clear instructions and helpful visual aids for those new to the magic ring technique.
FAQs
Here are answers to some frequently asked questions about crocheting a magic ring:
Can I use a regular chain instead of a magic ring?
Yes, you can use a regular chain to start your crochet projects. However, using a magic ring offers greater flexibility and creates a neater, hole-free center.
How do I adjust the size of the magic ring?
To adjust the size of the magic ring, you can simply make the initial loop larger or smaller. A larger loop will result in a larger ring, allowing you to crochet more stitches into it.
Is the magic ring technique only used in crochet?
No, the magic ring technique can be adapted for other crafts as well. It is particularly useful in crafts involving working in the round, such as knitting, embroidery, or macramé.
Why is my magic ring too tight?
If your magic ring feels too tight, it could be due to tension or not leaving enough space in the initial loop. Experiment with different tension levels and adjust the size of your loop to find the right balance.
How do I hide the tail of the magic ring?
After tightening your magic ring, you can hide the tail by threading it onto a tapestry needle and weaving it through the stitches on the wrong side of your work. This keeps the tail secure and prevents it from unraveling.

My name is Hellen James, and I’m a crochet and knitting expert. I’ve been crocheting since I was just a kid, but I started taking it seriously when I realized that it was a great way to de-stress and relax. Now that I have kids of my own, I love teaching them how to do it too!

