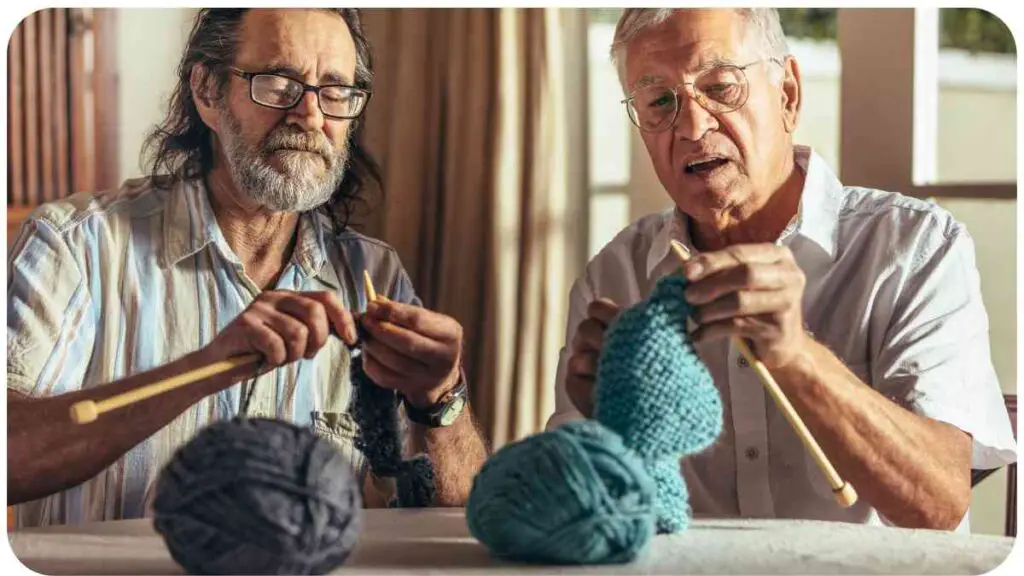
Welcome to the world of knitting! Whether you’re a beginner or have some experience, this quick and easy guide will help you get started on your knitting project. Knitting is a wonderful craft that allows you to create beautiful and practical items.
By following this guide, you’ll learn the fundamental techniques, find inspiration for your first project, and gain insights from my own knitting journey. Let’s dive in!
| Takeaway |
|---|
| Practice regularly to improve your knitting skills. |
| Start with simple patterns and gradually tackle more complex projects. |
| Join a knitting community for support and guidance. |
| Take breaks to prevent strain and fatigue. |
| Experiment with different stitches, yarns, and patterns to find your personal style. |
| Learn common knitting techniques like casting on, knitting, purling, increasing, decreasing, and binding off. |
| Troubleshoot common knitting issues such as dropped stitches, uneven tension, and twisted stitches. |
| Embrace mistakes as learning opportunities and don’t get discouraged. |
| Refer to additional resources like tutorials, books, classes, and knitting apps to expand your skills. |
| Enjoy the process and satisfaction of completing each knitting project. |
2. Choosing the Right Yarn
The first step in any knitting project is selecting the right yarn. The yarn you choose will determine the look, feel, and durability of your finished project. Consider the weight, fiber content, and color of the yarn. Different projects may require different yarn thicknesses, such as lace weight, fingering weight, or worsted weight. Each weight has its own characteristics, so make sure to match it with your project’s requirements.
“10 Essential Knitting Tips for Beginners” here. This insightful guide provides valuable insights for novice knitters, helping you master the craft effortlessly.
| Yarn Weight | Characteristics |
| Lace | Very fine, delicate, suitable for lacy projects |
| Fingering | Fine, great for lightweight garments and socks |
| Worsted | Medium weight, versatile for a range of projects |
When starting out, it’s a good idea to choose a yarn in a light or medium color, as it will be easier to see your stitches. Consider the fiber content as well. Animal fibers like wool are warm and elastic, while plant fibers like cotton are cool and breathable. Synthetic fibers like acrylic offer affordability and ease of care.
3. Understanding Knitting Needles

Knitting needles come in various materials and sizes. Each material and size has its own characteristics, affecting the drape and texture of your knitted fabric. The most common needle materials are:
- Bamboo: Lightweight and comfortable to hold, with a natural grip.
- Metal: Smooth and durable, great for fast knitting.
- Plastic: Inexpensive and lightweight, suitable for beginners.
- Circular: Flexible and useful for knitting in the round or large projects.
To determine the right needle size for your project, refer to the yarn label or pattern instructions. The recommended needle size ensures your stitches are the correct tension. It’s essential for your finished project to match the desired measurements.
“The Ultimate Guide to Knitting for Beginners” is your go-to resource for comprehensive knowledge on knitting basics. From casting on to bind-off, this guide covers it all, making your knitting experience enjoyable.
| Needle Size | Suitable For |
| US 7 (4.5mm) | Medium-weight yarn, blanket projects |
| US 10.5 (6.5mm) | Bulky-weight yarn, cozy sweaters |
4. Basic Knitting Techniques
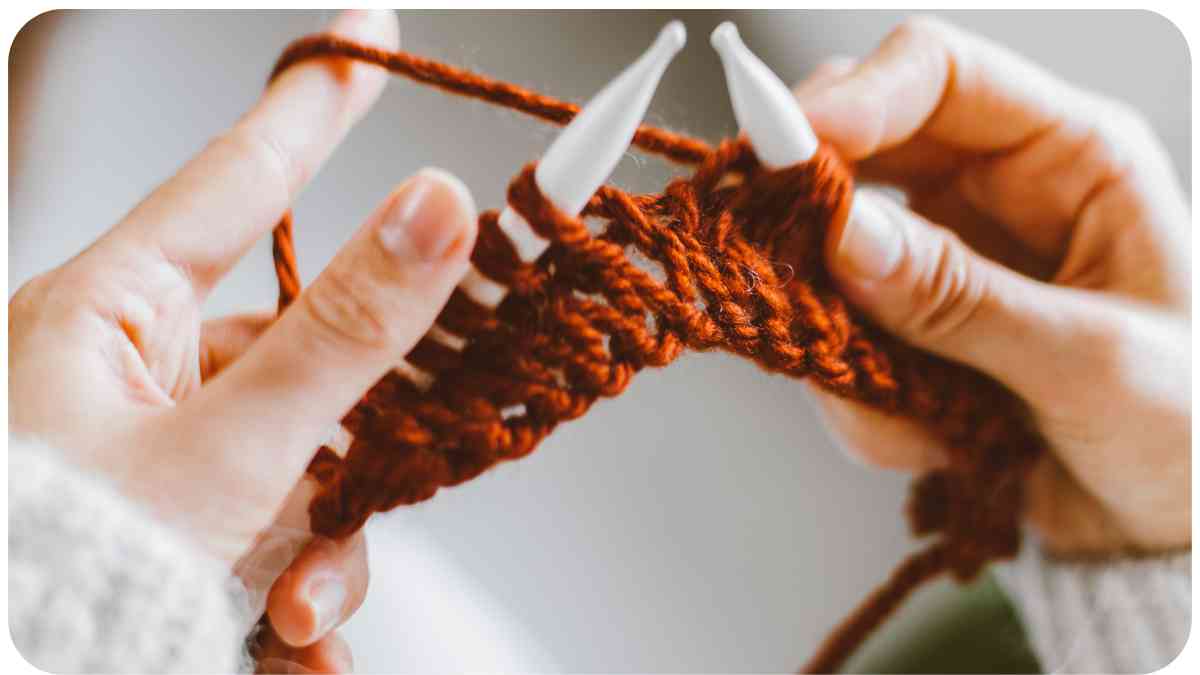
Knitting consists of just two main stitches: the knit stitch (K) and the purl stitch (P). By combining these stitches, you can create various patterns and textures. Here’s a simple breakdown of the two stitches:
- Knit (K): Insert the right needle into the first stitch on the left needle from left to right. Wrap the working yarn around the right needle and pull it through to create a new stitch.
- Purl (P): Insert the right needle into the first stitch on the left needle from right to left. Wrap the working yarn around the right needle and pull it through to create a new stitch.
Once you’ve mastered these two stitches, you can explore more complex techniques like cables, lace, and colorwork. These techniques add personality and flair to your knitting projects.
5. Essential Knitting Tools

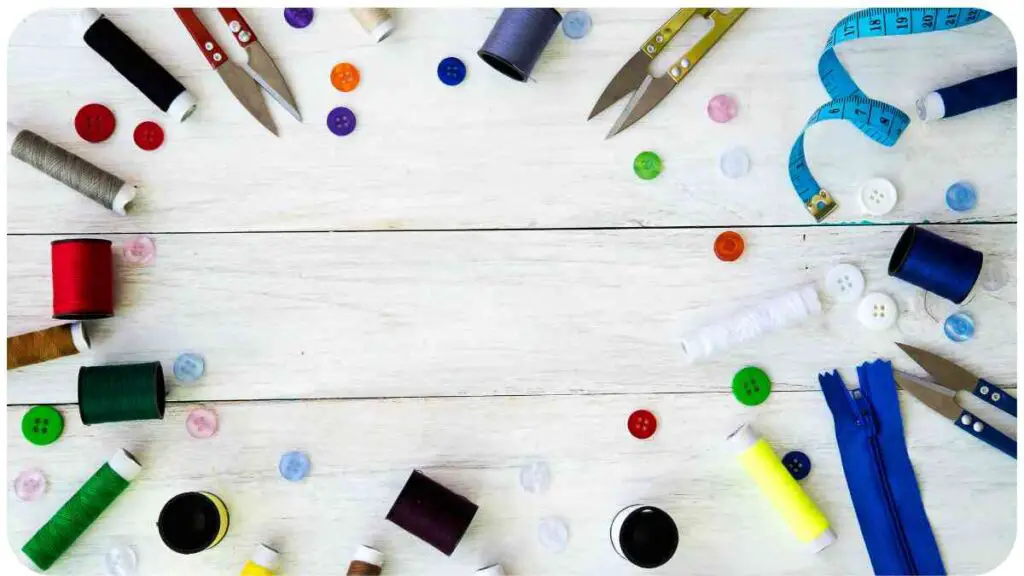
Having the right tools makes knitting easier and more enjoyable. Here are some essential knitting tools you’ll need:
- Stitch markers: These help you keep track of important points in your knitting, such as the beginning of a round or pattern repeats.
- Tape measure: Use it to check your gauge and measure your project’s progress.
- Scissors: A pair of sharp scissors is necessary for cutting yarn and weaving in loose ends.
- Yarn needle: You’ll need this to weave in loose ends and sew pieces together.
- Row counter: This handy tool helps you keep track of which row you’re on in complex patterns.
Having these tools readily available will make your knitting experience smoother and more organized.
“Knitting 101: The Basics You Need to Know” is the perfect starting point. This resource introduces you to knitting fundamentals, ensuring a strong foundation for your knitting projects.
6. Reading Knitting Patterns
Knitting patterns are a written or visual representation of the steps required to create a specific project. They include information about gauge, yarn requirements, and stitch techniques. Understanding how to read knitting patterns is crucial for successfully completing your knitting project. Here’s an example of a simple knitting pattern for a scarf:
| Row | Instructions |
| 1 | Cast on 20 stitches. |
| 2 | Knit 2, purl 2 – repeat to end. |
| 3 | Purl 2, knit 2 – repeat to end. |
| 4 | Repeat rows 2 and 3 until desired length. |
| 5 | Bind off all stitches. |
Reading knitting patterns may seem overwhelming at first, but with practice, they become easier to understand. Take your time and read through the pattern before you start knitting. Look for abbreviations and symbols used in the pattern, as they indicate specific actions you need to perform.
7. Casting On
Casting on is the first step in starting any knitting project. It creates the foundation row of stitches on your needle. There are different methods of casting on, but the most common method is the long-tail cast-on.
To perform the long-tail cast-on, follow these steps:
- Make a slip knot about 6 inches from the end of the yarn.
- Hold the slip knot in your left hand and place the needle through the loop from left to right.
- With your right hand, bring the needle over the working yarn, creating a loop around the needle.
- Insert the right needle into the loop on the left needle and bring the needle back through, creating another loop.
- Repeat steps 3 and 4 until you have the desired number of stitches on your needle.
Casting on may take a bit of practice to get the tension right, but don’t worry if your first few attempts aren’t perfect. With time, you’ll become more comfortable with this essential knitting technique.
Wondering about the time commitment for knitting? Find answers here while exploring “How Long Does It Take to Crochet a Dress?” This insight will help you plan your knitting projects effectively.
8. Knitting Stitches
Once you’ve cast on your stitches, it’s time to start knitting! Remember the two basic stitches: knit (K) and purl (P). Here’s a breakdown of these stitches:
- Knit (K): Insert the right needle into the first stitch on the left needle from left to right. Wrap the working yarn around the right needle and pull it through to create a new stitch.
- Purl (P): Insert the right needle into the first stitch on the left needle from right to left. Wrap the working yarn around the right needle and pull it through to create a new stitch.
Try practicing both knit and purl stitches, alternating between them to create different patterns. As you gain experience, you’ll become more comfortable with the rhythm and flow of knitting.
9. Increasing and Decreasing Stitches
Increasing and decreasing stitches allows you to shape your knitting project. Here are two common methods for increasing and decreasing:
- Increase: To increase a stitch, knit or purl into the same stitch twice. This creates two stitches where there was previously one.
- Decrease: To decrease a stitch, either knit or purl two stitches together. This combines two stitches into one.
These techniques are often used to create shaping in garments or to create decorative elements within a pattern. Experiment with increasing and decreasing stitches to add dimension and intricacy to your knitting projects.
“How to Use a Crochet Pattern: Tips and Tricks” available here. While it discusses crochet patterns, many tips apply to knitting pattern use, enhancing your knitting skills.
10. Binding Off
Binding off is the final step in completing your knitting project. It creates a finished edge and secures the stitches. Here’s how to bind off:
- Knit the first two stitches.
- Insert the left needle into the first stitch on the right needle.
- Lift the first stitch over the second stitch and off the needle, letting it drop.
- Knit the next stitch.
- Repeat steps 2-4 until you have one stitch left on the right needle.
- Cut the working yarn, leaving a tail of around 6 inches.
- Thread the tail through the last stitch, pulling it tight to secure.
Binding off gives your project a neat and professional finish. Take your time and ensure that your binding off is not too tight or too loose.
11. Simple Knitting Projects for Beginners

Now that you have a solid foundation of knitting techniques, it’s time to choose your first project. Here are a few simple knitting project ideas for beginners:
- Knitted scarf: A classic and versatile project that allows you to practice your knitting skills.
- Dishcloth: A small and quick project that is both practical and useful.
- Headband: A stylish accessory that keeps your ears warm during colder months.
- Baby blanket: A larger project that introduces you to knitting on a larger scale.
Choose a project that excites you and matches your skill level. Don’t be afraid to start small and gradually take on more challenging projects as you become more confident in your knitting abilities.
12. Troubleshooting Common Knitting Issues
No worries! Let’s dive into troubleshooting common knitting issues to help you overcome any challenges you might encounter during your knitting journey.
| Issue | Solution |
| Dropped stitch | Use a crochet hook or knitting needle to pick up the dropped stitch and secure it back onto your needle. |
| Uneven tension | Practice maintaining a consistent tension while knitting. Relax your hands and fingers, and avoid pulling the yarn too tightly or loosely. |
| Twisted stitches | Pay attention to your needle placement when knitting. Make sure your stitches are not twisted on the needle before you start a new row. |
| Yarn overs or accidental increases | If you unintentionally create yarn overs or increase stitches where you shouldn’t, you can decrease stitches on the next row to correct the count. |
| Fixing mistakes in a pattern | Carefully tink back (unravel) your stitches to the desired row, then re-knit them correctly. Use a lifeline—a contrasting yarn threaded through a particular row—to make it easier to rip back if needed. |
Remember, mistakes happen to everyone, even experienced knitters. The key is not to get discouraged and to learn from them. Each mistake is an opportunity to improve your skills and understanding of different knitting techniques.
13. Tips for Successful Knitting
To help you succeed in your knitting projects, here are a few tips from my own experience:
- Practice regularly: Knitting is a skill that improves with practice. Set aside dedicated time each week to work on your projects and practice new techniques.
- Start with simple patterns: Begin with straightforward patterns that match your skill level. As you gain confidence, gradually take on more complex projects.
- Join a knitting community: Finding a knitting group or community can provide support, motivation, and opportunities to learn from experienced knitters.
- Take breaks when needed: Knitting can be relaxing, but it’s also important to take breaks to prevent strain and fatigue.
- Experiment and have fun: Don’t be afraid to try new stitches, yarns, and patterns. Enjoy the creative process and let your personal style shine through.
Knitting is not only a wonderful way to create beautiful items, but it’s also a therapeutic and enjoyable activity. Embrace the journey and savor the satisfaction that comes with completing each project.
14. Resources for Further Learning
If you’re looking to expand your knitting knowledge and skills, here are some additional resources to explore:
- Online tutorials: Websites and YouTube channels offer a wide range of knitting tutorials, from beginner basics to advanced techniques.
- Knitting books: Invest in knitting reference books that provide step-by-step instructions, stitch patterns, and project ideas.
- Local classes or workshops: Check if there are any knitting classes or workshops offered in your area. Learning from an experienced teacher can be invaluable.
- Knitting apps: There are also smartphone apps available that provide instructions, patterns, and tracking features for your knitting projects.
Remember, there’s always more to learn in the world of knitting, so don’t hesitate to seek out new resources and continue expanding your skills.
15. Conclusion
Congratulations on taking the first steps toward starting your knitting project! With the knowledge gained from this guide, you have the foundation to embark on your knitting journey with confidence. Remember to choose the right yarn, understand your knitting needles, learn basic techniques, and acquire essential tools. Reading knitting patterns, casting on, performing knitting stitches, increasing and decreasing, and binding off are fundamental skills that will serve you well.
Don’t forget to explore simple knitting projects for beginners, troubleshoot common knitting issues, and implement the tips and resources shared here. Embrace the joy of knitting, let your creativity flow, and create beautiful pieces with your newfound skills. Happy knitting!
Further Reading
Here are some additional resources and articles that provide further guidance and information on knitting:
- WikiHow: How to Knit: WikiHow offers a comprehensive step-by-step guide on knitting, covering basic techniques, stitches, and projects. It includes easy-to-follow instructions accompanied by helpful images.
- Sheep and Stitch: How to Knit: Sheep and Stitch provides a beginner-friendly tutorial on knitting, unraveling the process from start to finish. The article highlights essential techniques, tools, and terminology, making it a great resource for those starting their knitting journey.
- Sarah Maker: How to Knit: Sarah Maker’s blog post shares a detailed guide on knitting for beginners, covering everything from choosing yarn and needles to basic stitches and finishing techniques. The article also includes links to additional resources for further learning.
FAQs
Here are some frequently asked questions about knitting along with their respective answers:
How long does it take to learn knitting?
Learning to knit varies from person to person. With regular practice and dedication, you can learn the basic stitches and start working on simple projects within a few weeks or months.
What is gauge in knitting?
Gauge in knitting refers to the number of stitches and rows per inch or centimeter achieved by using a specific yarn and needle size. It helps ensure that your knitted project matches the measurements specified in the pattern.
How do I fix a mistake in my knitting?
To fix a mistake in your knitting, you can carefully unravel or “tink” the stitches back to the mistake, correct the error, and then continue knitting. Alternatively, you can use a technique called “frogging” to unravel a larger portion of your work and re-knit it correctly.
Can I use different types of yarn for a knitting pattern?
Generally, it is best to stick to the recommended yarn weight and fiber suggested in the pattern. However, you can experiment with different yarns as long as you make adjustments to your needle size and consider the characteristics of the yarn you are using.
How do I care for and wash my knitted items?
To care for knitted items, follow the care instructions provided on the yarn label. In general, handwashing in lukewarm water with a gentle detergent is best for most knitted pieces. Avoid wringing or twisting the item and lay it flat to dry to preserve its shape.
Remember, if you ever have additional questions or need further assistance, reaching out to a local knitting community or online knitting forums can provide valuable support.

My name is Hellen James, and I’m a crochet and knitting expert. I’ve been crocheting since I was just a kid, but I started taking it seriously when I realized that it was a great way to de-stress and relax. Now that I have kids of my own, I love teaching them how to do it too!

